Wednesday, October 27, 2010

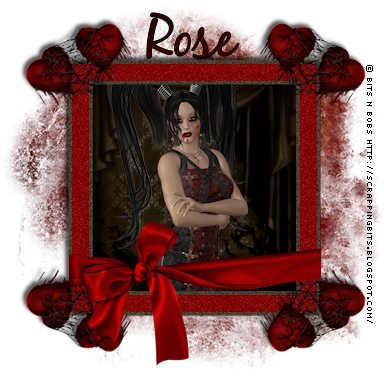
Snowgirls (FTU)


Tube Alan Stevens Here
Scrapkit Snowgirl by Amanda Kelleher Here
Mask 132 by Weescotslass Here
~~~~~~~~~~~~~~~~~~~~~~~~~
Outside Effects used
Eyecandy 4000 Gradient Glow
~~~~~~~~~~~~~~~~~~~~~~~~~~~~~~~
drop shadow settings:
vertical and horizontal: 1
opacity: 75
blur: 3
color: black
new 600x600
open ak_free_snowgirl(31)
change foreground to pattern chose the paper you just opened
settings:
angle: 0
scale:125
Load save mask/load mask from disk: wslmask132
merge group
open ak_free_snowgirl (20)
with magic wand select inside left frame
selections modify expand by 3
copy and paste paper ak_free_snowgirl (20) as a new layer
selections invert delete
drag layer below frame
do the same with the right side of the frame but use paper ak_free_snowgirl (29)
On ak_free_snowgirl (20) and ak_free_snowgirl (29)
effects/texture effects/blinds
these settings:
width: 3
opacity 47
color: #ffffff
horizontal: unchecked
light from left/top: checked
Open tubes
click inside right frame
selections/modify expand by 3
copy and paste 1st tube
selections invert delete
do the same for the left frame
drop shadow both tubes
add tubes again and resize and place
for now close these layers off
open ak_free_snowgirl(45) and place above frame layer
duplicate this layer
click on duplicated layer and merge down (this will make the ribbon less sheer)
with selection tool on rectangle draw small rectangles on the side of the frames (we will delete the excess ribbon)
hit delete after placing the rectangles
select none
open ak_free_snowgirl(12)
copy and paste as new layer above mask layer
resize 70%
free rotate 90 degrees and make sure right is checked and place (use my tag as reference)
eyecandy 4000 gradient glow with these settings
color tab
medium (use default color)

Friday, October 8, 2010

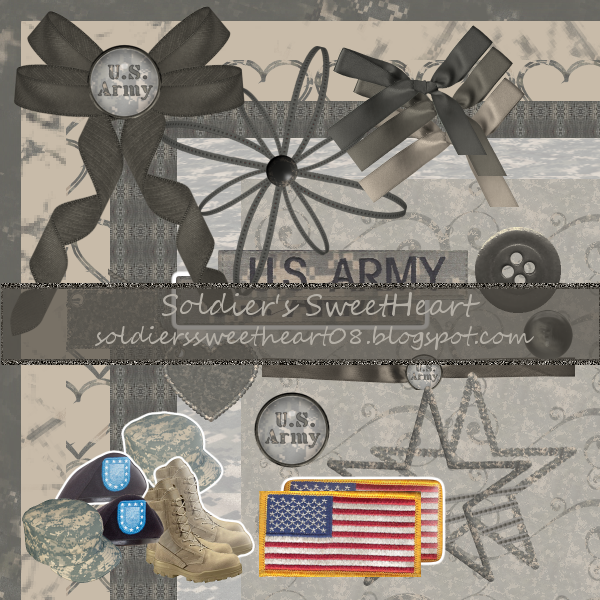
Army Pride Kit Freebie

This kit is for tagger and Computer Layouts (not suitable for printing).
There are 24 Elements and 5 Papers.
Nothing in this kit is for CU.


You can download here!

Monday, September 27, 2010

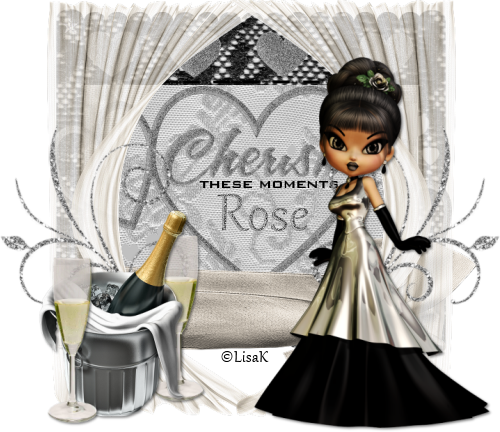
Oooh Shiny Tut (PTU)

You can get Oooh Shiny Scrapkit from Sarah at http://hungryhill-sarah.blogspot.com/
Cherish Template from Kittz Here
The tube was in the kit
Open Cherish template by kittz>shift+D>close out original
Delete TOU and Raster 1
Click on Scalloped Hearts2 Layer
Selections>Select all>float>defloat
Open paper 4>copy and paste as new layer
Selections>Invert>Delete>deselect
Delete Scalloped Hearts2
Click on Scalloped Hearts1 Layer
Selections>Select all>float>defloat
Open paper 4>copy and paste as new layer
Selections>Invert>Delete>deselect
Delete Scalloped Hearts1
Do the same for Round Edge Rectangle 1&2 as you did for Scalloped Hearts1&2
Click on Large Rectangle Shape
Selections>select all>float>defloat
Open paper 5>copy and paste as new layer
Image>Resize 60%
Selections>invert>delete>deselect
Slide transparency of this level to 50% then delete large rectangle shape
On raster 5 selections>select all>float>defloat
New raster layer>flood fill this with white>deselect
Move this layer under raster 5
Image>canvas size>800x800
open sheer-drape-2>copy and paste as new layer>move this layer to the top
move curtain to the left
Duplicate>mirror (look at my tag for placement)
open doodle-1>copy and paste as new layer>move doodle to bottom right
image>resize 60%>duplicate and mirror
open wrap-1>copy and paste as new layer>use ribbon to cover bottom of template
Move this layer to were it sits under raster 7
Click on cherish word art layer>with magic wand select the word cherish
Flood fill with #727272
adjust>add/remove noise>add noise with these settings
    Gaussian checked
    monochrome checked
    noise 44%
Effects>plugins>eye candy 5 impact>bevel
    These settings:
    Basic tab:
        bevel width: 29.39
        bevel height:18
        smoothness:10.22
        round corners:0
        bevel placement:inside selection
        darken deep areas:0
        Shade interior:checked
    Lighting tab:
        Direction: 207
        Inclination: 60
        highlight brigtness: 51
        highlight size: 65
        highlight color: #727272
        shadow color: #d2d2d2
Hit ok then deselect
Open SSLisa-Cookie-ooh shiny-black 1
Take your lasso tool and circle lisa k copyright hit delete
(we will be adding this again later)
Copy and paste tube as new layer>drag this layer to the top
Image>resize by 50% then again by 70%
Add a drop shadow these setting:
    Vertical:2
    Horizontal: 2
    Opacity: 50
    Blur: 5
    Color: Black
Select Heart Frames Layer
Selections>select all>float>defloat
Flood Fill with #727272
Add noise (same setting as before)
Effects>plugins>eye candy 5 impact>bevel (same settings as before)
Deselect and then move the hearts a little down (look at my tag for reference)
click on raster 10
Open bubbly>copy and paste as new layer>move to the bottom left
image>resize 50%
Open bubbly glass>copy and paste as new layer
move to left of bubbly image>resize by 50% then 80%>duplicate>mirror>move image to right of bubbly image
move this layer to where it's sitting under bubbly layer
Add drop shadow to all 3 images
Click on Raster 1 and with magic wand select inside each heart
add new layer>selections>modify>expand by 2
Flood fill with #727272>adjust>add/remove noise>add noise (same settings as before)
effects>plugins>eye candy 5 impact>bevel (same settings as before)>deselect
move this layer to where it's sitting under raster 1
Before adding name and copyright I like to crop and resize
Add your name and copyright info

Thursday, September 23, 2010

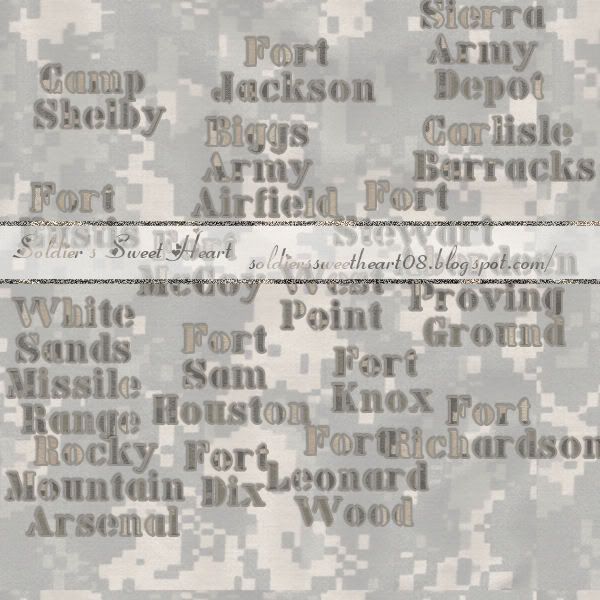
Army Pride Teaser! Freebie

There are 78 Army Forts/Posts/Duty Stations in this teaser...
There are no elements or papers just words in this that will be coming out within the month.

You can download it Here

Monday, September 20, 2010

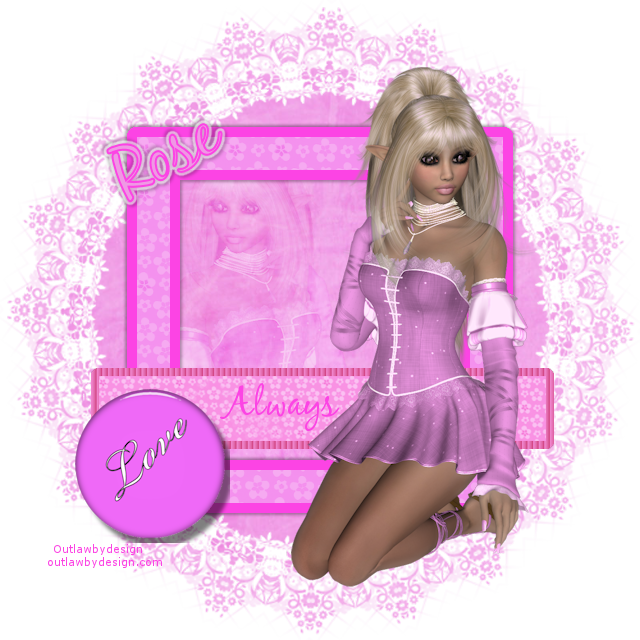
FTU Love Always Tut


Mask Here
Totally cute scrapkit from Chrysi and you can get it here
Tube from Outlaw by Design Here

New Raster Layer>800x800
Open any paper (I chose pink)>Copy/Paste onto blank canvas
Layers>Load/Save Mask from Disk> sg_stencil-flowered-circle>invert transparency
Image>Resize 80%, resize all layers unchecked
Open any frame>Copy/Paste above mask layer
Effects>Drop shadow with these settings:
    Vertical: 2
    Horizontal:2
    Opacity:30
    Blur: 4
Repeat Drop shadow but change vertical and horizontal to -2
Open any flower border>copy and paste above frame layer
Image> Rexize 80%
Move flower border near bottom of frame (look at my tag for reference)
Open any button>Copy and Paste above flower border
Image>Resize 40%
Move button to left bottom corner of frame (look at tag for reference)
Open tube>Copy and Paste and resize if need be
Move tube to the right and place this layer above the ribbon layer
Duplicate tube>Mirror
Move duplicated tube layer under frame layer and reposition tube
Click inside frame with magic wand
Selections>Modify>Expand by 8
Selections>invert
Make sure you are on duplicated tube layer and then hit delete
Selections>Select None
Double click on duplicated tube layer
Change blend mode to soft light
Click on ribbon layer>then click on text tool
Write Always
I used these settings
    Font:BlackJack
    Size:14
Convert Always layer to a Raster layer
Add your name and copyright.

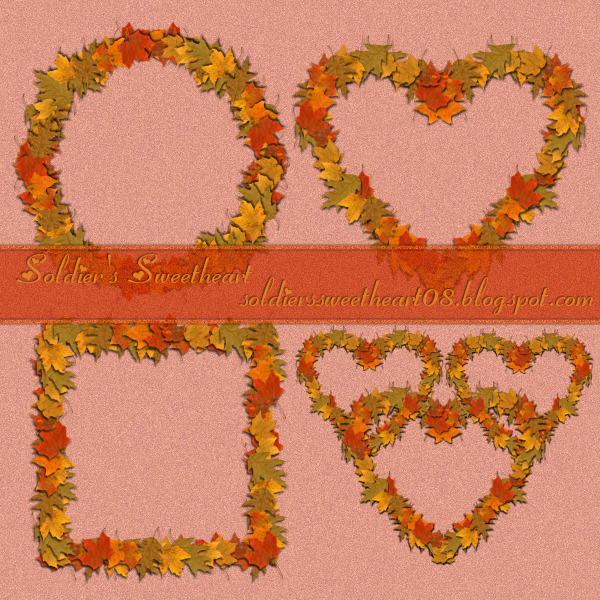
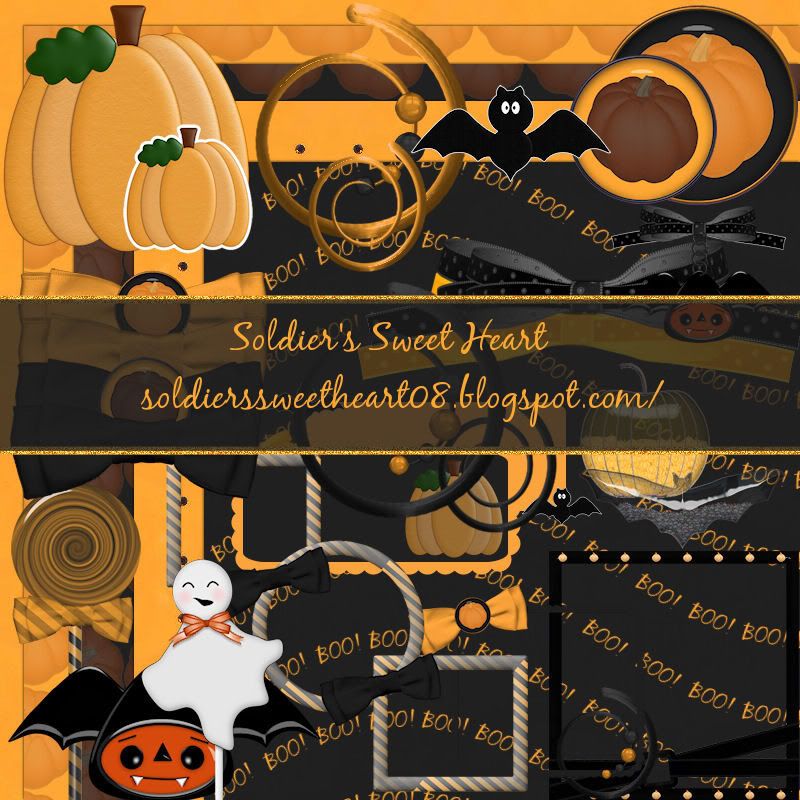
Halloween Scrapkit Freebie

Made for Taggers and Computer L/O
I love the Holidays....
 Most items are shown at 50%
There are 5 Papers
3 Frames
 24 Elements
Download Here

Sunday, September 19, 2010

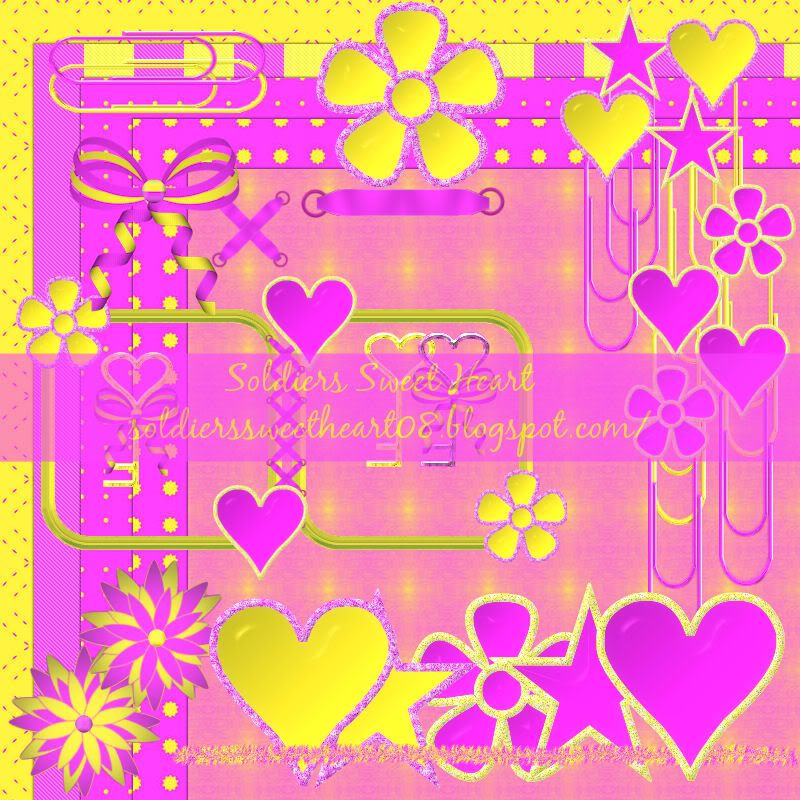
Pink and Yellows Scrapkit.

This Tagger Size kit was so fun to make! I love all of the bright colors. :)


There are
6 Papers
31 Elements
1 Frame
You can find it here

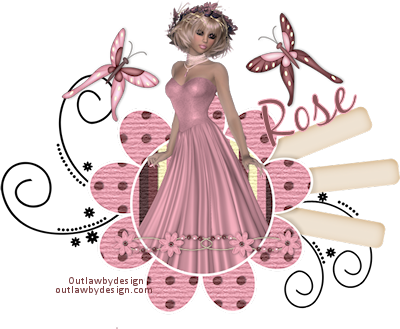
Brown Sugar

So I decided to take a small break from Scrapping and did a tut today. You can find this wonderful tut here

Here are my results...

Saturday, September 18, 2010

First CU Freebie

This will be my first CU Freebie I hope ya'll will like it and find a wonderful use for it. :)
Photobucket

Monday, September 13, 2010

Colors of Fall Tut

Bear with me as this is my first tut. :) 
This tut assumes you have basic knowledge of PSP. 
I used PSP X3. 

Scrapkit Here
Tube Here
Mask Here
Mura Meister Clouds 2.2 Here

new image 500x500
open dbv fall paper>copy/paste
Mask from Disk sg-stencil-flower circle
merge mask group
open dbv fall element (24)>resize to about 80% (make sure resize all layers is UNCHECKED)
add a drop shadow to element (24)
drop shadow settings: vertical: 3
              Horizontal: 3
              Opacity: 49
              Blur: 4.0
              Color:Black
Redo drop shadow but change vertical and horizontal to -3
Click inside element (24) with magic wand
selections>modify>expand>4
new raster layer>change background to white on materials palette
flood fill tool>click inside selection
Drop opacity to about 81>deselect
On white image we just created go to
Selections>select all>float>defloat>mura meister clouds
these settings:

Colors for light: BG #e26220
              FG:#ffffff
          BG:#d61900
Move clouded layer under element (24)>deselect
click on element (24)
open dvv fall element (2)>copy/paste as new layer>resize 50%
Move to lower left
Open dbv fall element (3)>resize to 50%>move to upper right of element (24)
open tube (if using the same one as me resize by 40%)
place tube in between apples and tag
Open DBV fall element (22)>copy/paste>resize 90%
Move DBV fall element (22) to bottom of DBV element (24)
click on raster 7>right click>arrange>send to bottom
Merge visible
add name and copyright

Sprinklz Mini Scrapkit

With all the fun colors who wouldn't wanna play with this scrapkit? I hope ya'll have as much fun with it as I did creating it!
There are 13 Elements
3 Frames
15 Papers

Sprinklz Here


Milford Sound in New Zealand

Friday, September 10, 2010

CT Member! Yay!

So recently I have became a CT Member for another Army Wife. :) Yay me. So this is the first tag I made using one of her scrapkits. I'm hoping to get better and start making tuts of my own. :)

Scrapkit Here
Art Here
Milford Sound in New Zealand

Tuesday, September 7, 2010

Fall Friends Tag

So I bought this totally cute scrap called Fall-Ever Friends Colab at http://www.heartfeltperfection.com/ this weekend. I was dying to use it and this is what I came up with. Also, while your there read the reason behind this cute scrap.
Oh and I do have to give props to this amazing poser creator at MediEvil Creations.
So now for my Tag. :)


Milford Sound in New Zealand

Sunday, September 5, 2010

Tuesday, August 31, 2010

Obama

So my husband had to leave earlier than usual today...because Mr. Prez will be here. I can't even attempt to imagine how the gates are going to be. I think it's interesting though he's thanking the Troops that got home from Iraq earlier this month when they pulled a short tour compared to the year my husband, his friends and his battalion had to pull. The only reason they are even getting National Recognition is because they were part of the draw down. Not that I'm not thankful to them...I am. I just wish more troops were being thanked. My husbands battalion received no national recognition, they received no thank you from outsiders, they got nothing. What gets under my skin the most are the wives. Saying how hard it was for their Loves to be away so long...um yeah try a year! And then ya'll want to complain about only getting 3 weeks block leave...whatever. But anyways, most of the soldiers won't even get an opportunity to see him. Most of the one's I know really don't care and most I know didn't even vote for him. I will keep my opinions to myself about the Prez.  I just needed a rant. LOL.

Milford Sound in New Zealand